Showing posts with label how-to. Show all posts

Saturday, December 5, 2015

Christmas Card 2015


PAPER SUPPLIES
Ivory Paper
12" x 12" core'dinations Foundations Canvas Texture Evergreen
12" x 12" Polka Dot (Holly Jolly "Jingle Bells - Multi Polka" Paper designed by Jen Allyson for My Mind's Eye)
12" x 12" Red Paper
STAMPS
Our Daily Bread Designs Little Drummer Boy stamp set
Clear Acrylic Block
INK
Black Ink of your choice
OTHER
Red Ribbon of your choice (a see-thru ribbon looks really nice)
TOOLS
Adhesive
Paper trimmer
Scoring Tool
Bone Folder

CUTTING DETAILS
Cut the paper according to color as follows:
Ivory: 3" x 3.5"
Green: 3.75" x 3.25"
Polka Dot: 3.625x5.625
Red Base: 4" x 12" (fold to 4" by 6")

STEP 1
You will need the Drummer Boy and the Notes with "rum pum pum pum". Place stamps on acrylic block. Stamp image using black ink on ivory card stock that has been cut to 3" x 3.5". 

STEP 2
Adhere ivory card stock to the textured side of the green card stock (which should have been cut to 3.75" x 3.25").

STEP 3
Adhere green card stock towards the top half of the polka dot paper.

STEP 4
Attach ribbon around bottom part of polka dot paper.

STEP 5
Attach polka dot paper to red card stock base.

STEP 6
Tie ribbon on front.

Now find a message for the inside and you are done. Probably one of the easiest Christmas cards I've made, but it's just so adorable! 

Friday, December 5, 2014

Christmas Card 2014

This year's Christmas card is 3D...since everybody's remaking movies in 3D and almost every animated movie is being released in 2&3D, I figured I'd jump on the bandwagon with a 3D card. Hope you enjoy this how-to.

Paper Supplies
    white paper for base (cut to 8-1/4" x 5-7/8")
    white paper strips (cut to 4-1/8" x 1")
    red strips (cut to 4-1/8" x 1-1/2")
    red stripe (cut to 4-1/8" x 5-7/8") - I used Simple Stories Sn@p! Red Dot/Stripe
    Transparency film (cut to 4-1/2" x 3-3/4")
Stamps
    Merry Christmas sentiment of choice (I used the one from Hero Arts Cozy Moments set)
    Inkadinkado Snowman
Ink
    Staz On Black
Tools
    Adhesive
    Pop-Dots
    Glitter Glue
    Colored Pencils (Red & Blue)
    Oval Cutter
    Paper Cutter
    Paper Scorer
    Bone folder
    Stamp-a-ma-jig stamp positioner

Step 1
Stamp your "Christmas" sentiment on the 4-1/8" x 1" white strip. Then adhere to 4-1/8" x 1-1/2" red strip.
For this step, you will need your Black Staz On Ink, the
 4-1/8"x1" white strip, and your Christmas sentiment.

Step 2
Using your oval cutter, cut an oval out of the 4-1/8" x 5-7/8" red strip paper. I used the Creative Memories 3" x 3-7/8" oval with the red blade. Cut oval closer to the top, so you have some space on the bottom of the card.
Step 3
Score white card base. DO NOT FOLD yet.

Step 4
Align red striped paper on right side of card base so corners line up. Ink stamp, align stamp in center of oval and stamp your image.
Step 4: transparency film, black Staz On Ink, snowman stamp,
stamp positioner, white card base, and red striped paper with oval cut out.


Step 5
Stamp the snowman on a piece of transparency (this is to use for positioning only). This one will be easier to show the steps in pictures, so under each picture is what you need to do.
Align your transparency film over the
snowman image on the white card base.
Align positioner image over top of card base and clean transparency
film. Align positioner to top left edge of positioning image.

Once you've aligned the stamp positioner in place,
remove positioning image.

Ink stamp, stamp image, aligning corner of stamp to stamp
positioner. This helps ensure your two images will line up.

You should have your snowman stamped on the
transparency film and the main card base.
Step 6
Color parts of the scarf and hat red (I colored in every other stripe in the scarf and hat). Color the shadowy areas blue.
Step 6: colored pencils and the main card base.
Step 7
Adhere the transparency film to the red striped paper by aligning the transparency film over the card base image. Apply adhesive to the edges of the transparency film, attach red striped paper on top of transparency film. Make sure the corners of your card base and the corners of the red striped paper line up.

Step 7: adhesive, the card base, the snowman on transparency
film and the red striped paper with the oval cut out.

Step 8
Step 8: Adhesive, pop dots, Christmas sentiment, red striped paper
with snowman on transparency film, and the card base.
Adhere your Christmas sentiment to the front of the striped paper, covering part of the bottom of the oval. Flip over, attach your pop dots to the backside of the red striped paper. Flip right side up, align corners of the red striped paper with the card base and attach.
Step 9
Add glitter glue to transparency film over areas colored blue. Let dry
Step 9: glitter glue, completed card.

Stamp a sentiment inside and your signature stamp on the back and your 3D card is complete! Below are some additional pictures, hopefully you can see the 3D effect (try clicking on the image so it opens larger in a new window).

Hope you enjoyed yet another Christmas card tutorial. If you have any thoughts or suggestions on how to improve this how-to, please leave your comments. I'd love to hear your feedback.

Thursday, December 5, 2013

Christmas Card 2013


This year I opted to go the traditional-looking card route. I received these stamps as a Christmas gift in 2012 and couldn't wait to use them. Hope you enjoy this how-to on this traditional-looking Christmas card. The complete assembly of one card took ~6 minutes (time includes opening & closing each ink tray and cleaning stamps). Please note, assembly time does not include drying time of the 3D paint.

Paper Supplies:
    White card stock (use a thinner card stock for the card base)
    Black card stock
Stamps:
    InkadinkaClings Village Park
    InkadinkaClings Village Lifestyle
    Clear acrylic block
    Merry Christmas stamp of your choice (I used Hero Arts)
Ink:
    Staz-On Forest Green
    Color Box Ice
    Brilliance Coffee Bean
    Brilliance Black
Other:
    Scribbles 3D Fabric Paint in Christmas Green/Glittering Electric Green, Glittering Ruby, Crystal*
    *can substitute with glitter glue
Tools:
    Paper trimmer
    Scallop Corner Punch (I used Creative Memories)
    Adhesive of choice
    Tim Holtz Ink Blending Tool

Step 1
Cut white paper stock to 4-1/2" x 9"; cut white paper to 3-1/2" square; cut black paper stock to 4" square.

Step 2
Score 4-1/2" x 9" card base at 4-1/2" (this will fold to a square size of 4-1/2" x 4-1/2")

Step 3
Use your scallop corner punch to cut the corners of all pieces of the card (card base, white square and black square). If you used a thinner card base, you shouldn't have any problems punching through the folded side.
Step 4
Using Tim Holtz's Ink Blending Tool, you will use Color Box's Ice Ink and the 3-1/2" square sheets of white paper. Dip Blending tool in ink, insuring you have ink on the pad. In a circular motion, starting off the paper, move the blending tool onto the paper, continuing in a circular motion. Reink as necessary, cover 3/4 of the bottom of the 3-1/2" square paper.
Ice colored Ink, Blending Tool,
3-1/2" square white paper
Step 5
If you haven't already done so, attach cling stamps to acrylic block (sleigh and bridge on one side, then line up trees on the other side, next to where snow banks on bridge stamp ends, there can be minor overlap here).
Coffee Bean, Black and Forest Green
Inks, stamps, 3-1/2" square paper


Now stamp your images. You will want to stamp the bridge and sleigh first, that way you know where to position the trees. I inked the horse in Coffee Bean, inked everything else in black, then stamped my image. Flip over, ink trees in Forest Green and stamp image. Ink your Christmas saying in black, then stamp at bottom of picture.


Step 6
Adhere layers to card base. Center the 3-1/2" white square on the 4" black square, then center that on the 4-1/2" square card base.
Step 7
Apply 3D Paint.
Green - apply to garland along bridge side and wreath (do a complete circle for the wreath)
Red - apply to where the garland swoops meet, just a dot, along side of bridge and sleigh
Crystal/white - apply to snow on bridge railing and snow banks alongside and under bridge.

I didn't let the 3D paint dry before doing the next color. My suggestion is to do apply the paints in this order, especially if you are not going to wait for them to dry in between: green, red; crystal/white. Let dry.
For this step you will need the completed card and the three
different colors of 3D Paint: Green, Red and Crystal/White.
Step 8
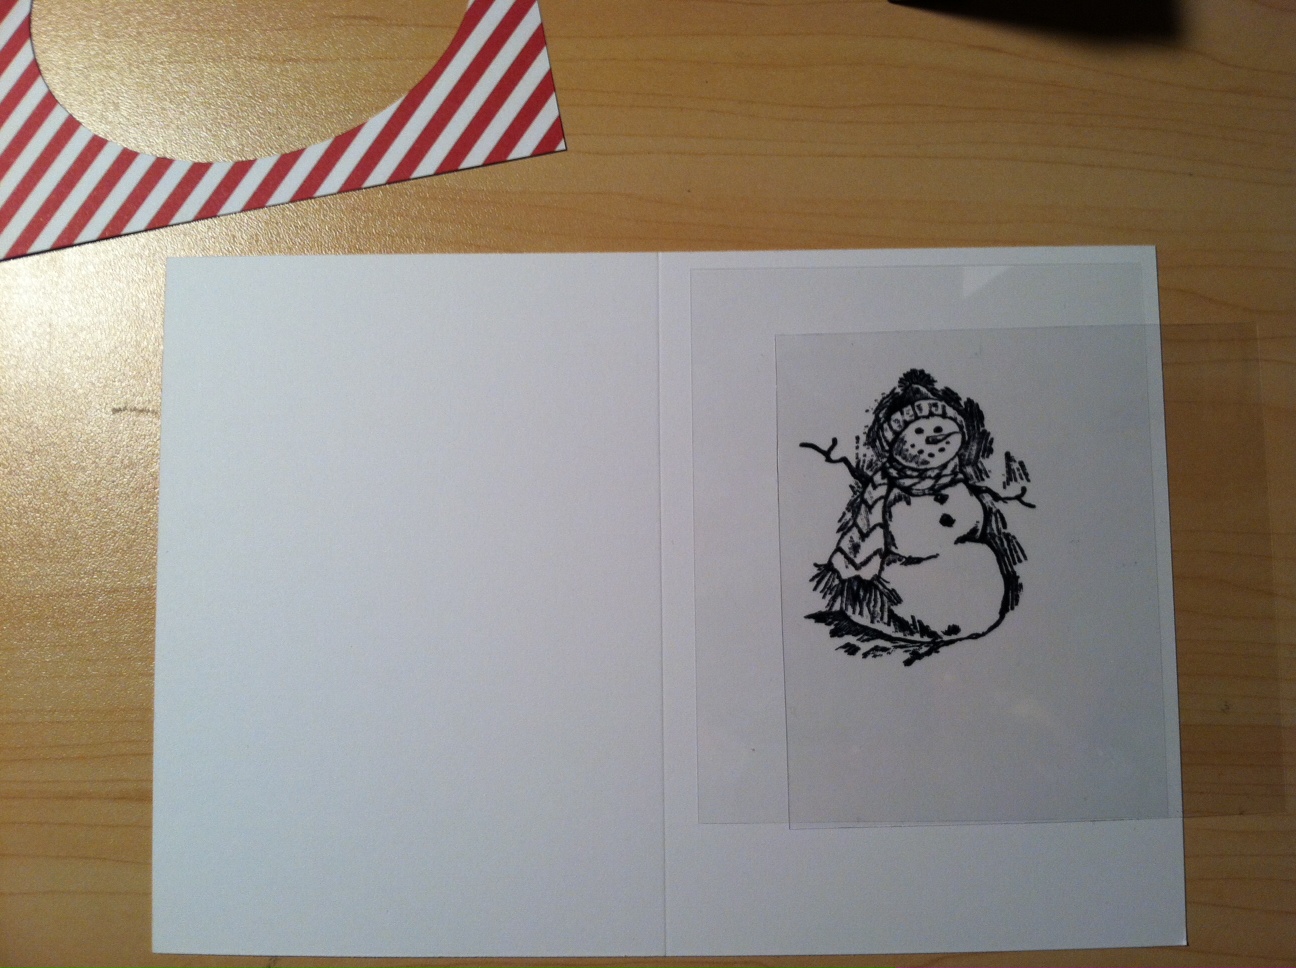
Stamp your chosen message on the inside and add your signature stamp to the back.
Hope you enjoyed yet another Christmas card tutorial. If you have any thoughts or suggestions on how to improve this how-to, please leave your comments. I'd love to hear your feedback.