I am going to attempt to walk you through how to make a felt flower, decorate the vase (with twine), fill it with sand and add a candle. The completed project should look like this:

 Supplies
You will need:
Craft glue or hot glue gun (glue to melt)
Felt (approximately 9x11-3/4. I used red, yellow, orange and purple - one for each season of the year)
Scissors
Twine
Sand (any color you choose)

Candle
Snap Barrettes
1. Cut your felt piece into strips (I cut mine to 2.5" wide). To keep my edge straighter I folded the felt in half and cut it.
2. Fold piece in half and glue along longest edge. Keep the ends of the felt open. Be careful not to burn yourself if you are using a hot glue gun. Wait until piece is dry/cooled before continuing.
3. Cut slits into opposite side that you glued.
4. Apply glue along previous glued edge.
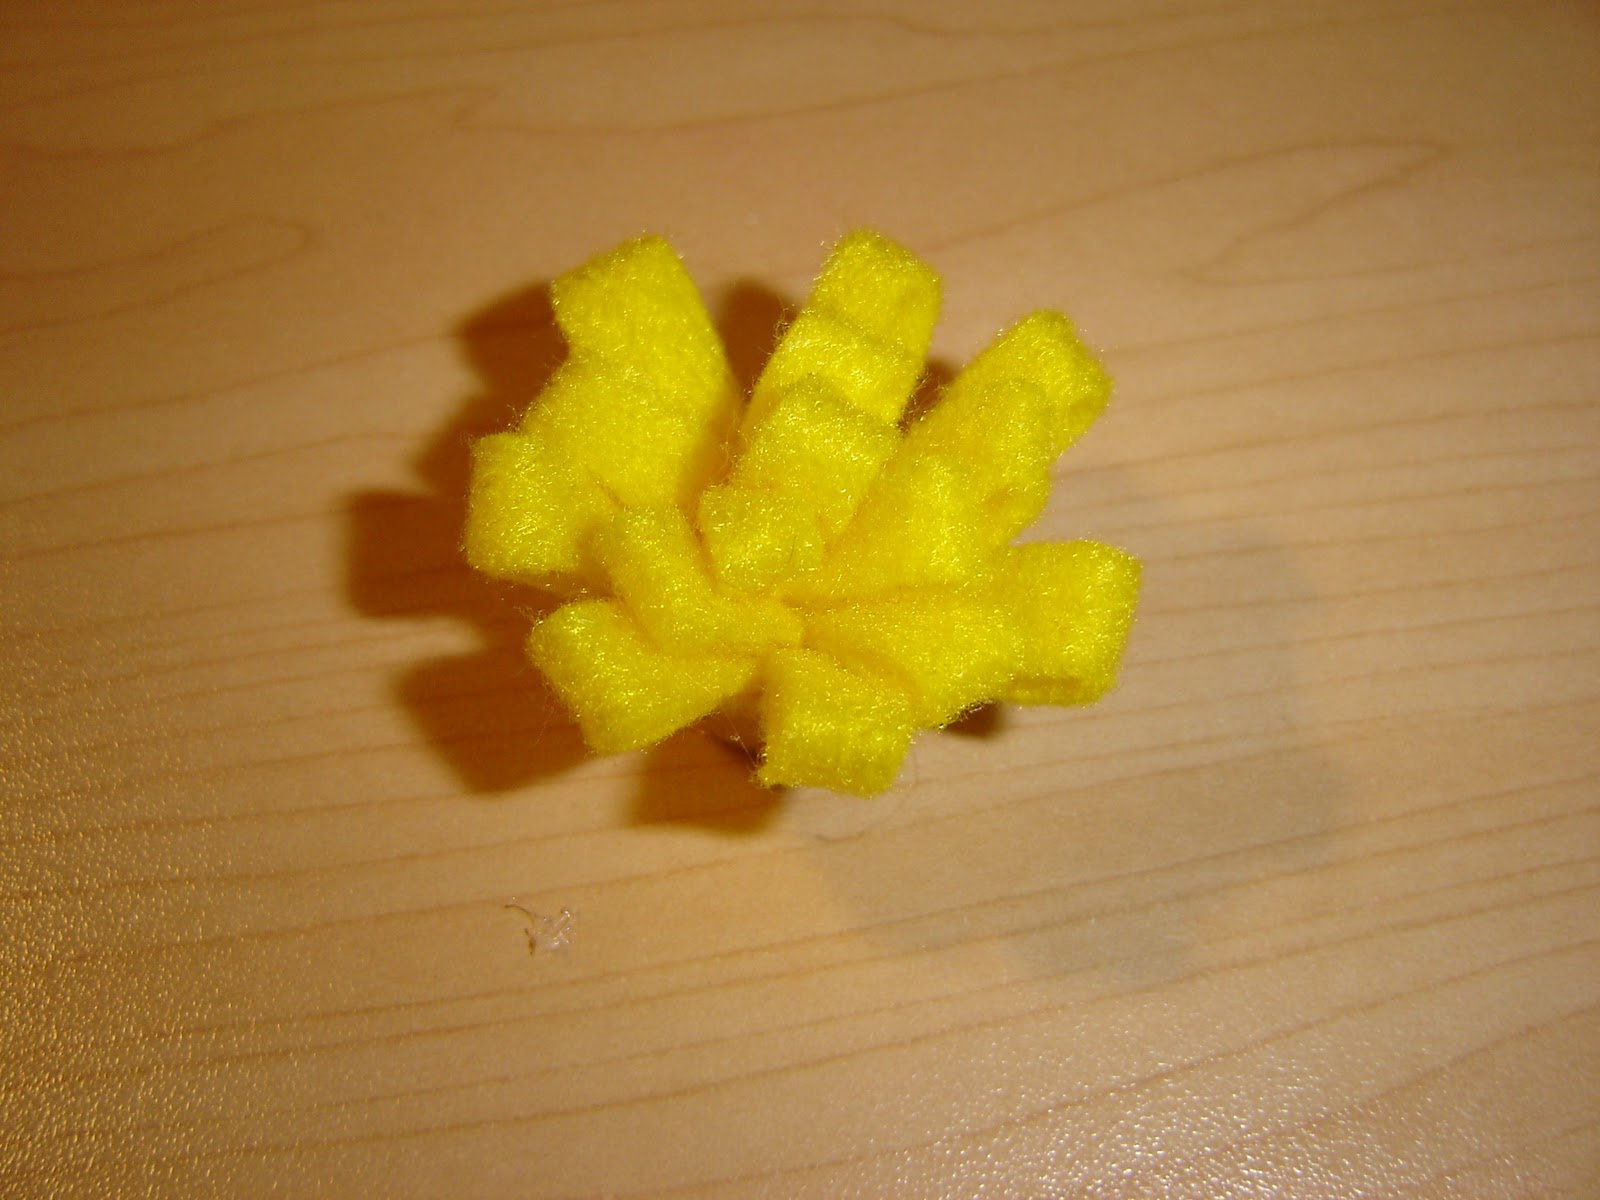
5. Start rolling the glued edge in a circular motion. Hold in place until glue dry, or you feel flower is stable enough to be let go. (For the center of the flower I used 1/3 of a full 12" strip, you can choose how big you want your center.)
 |
Top of rolled flower will look like this.
This piece will actually be the center of the flower. |
 |
Bottom of rolled flower center
should look like this. |
6. Take a 12" strip of another color (if you are doing a center on the flower). Put glue on the end and glue it along the edge as you wrap it around the center. Keep adding 12" strips until your flower is as big as you want it.
 |
This is a sample of a flower with one
12" strip. I added one more to get the size I wanted. |
 |
| The final product. |
7. Attach a snap barrette to the back. I used hot glue to make sure it would stay in place.
8. Wrap twine around vase. Make sure to glue first and last row into place to ensure it doesn't fall off. Make a little loop in the front to attach barrettes to.
9. Pour sand into the bottom of your vase and embed a candle in the sand center.

10. Attach flower with the barrette to the loop.
11. Repeat steps 1-7 to make one flower for each season.

 I have joined Pinterest, and I love it! I have found so many cute projects that I want to make. So, I bought/gathered all this stuff: white spray paint; chalkboard paint; red spray paint (not pictured); orange spray paint (not pictured); an old, cool looking wine bottle; a rubber-sealed jar; a bottle of soap; three different-sized circle plaques and three different-sized small circles. I will post completed photos so you can see what I did with each item. As of right now, everything that needed to be spray painted white has been and everything that needed to be painted with chalkboard paint is also painted. I can't wait to start putting stuff together!
 One thing I put together was this vase filled with mini ornaments. I picked up the vase at Goodwill for $1.99, the mini ornaments (12) for $2.99 at Menards, and the cranberry candle ring at JoAnn's for $3.99...total project: $8.97 + tax. I put the piece in my guest bathroom since the counter is so long.


