Showing posts with label crafts. Show all posts

Sunday, May 26, 2013

File Folder Album - Travel

If you remember back in April I took a class at where I made a file folder for photos. Here's a link to that post, in case you haven't seen it.

Based on that class, I did create my own file folder, as a gift for some friends who, later this year, will be training and moving to become missionaries. If you know anything about becoming a missionary, you know that you are limited on how much you can bring with you. Hence, photo albums take up a lot of room, file folders, do not.

Here's what I created. I started with a regular manilla file folder and decorated it with paper, along with some specialty smaller file folders. To allow for more photos, I used Simple Stories Snap album pages, which I attached with larger eyelets.

The final project photos are below. I took a 12x12 piece of paper, adhered it to the cover and right inside page for backgrounds, then cut them to the shape of the file folder.

Cover (12x12 postcard paper cut to file folder shape after adhering).

On the left are pre-made mini file folders, since they are going overseas, I used file folders that were like passports, maps, etc. The postage stamp thing in the left corner is an acetate shape which keeps the three mini file folders closed on that side. The acetate is attached with regular red staples. Next the the quote on the left, I put a map with our friends starting location, circled a few places on their voyage and then their final destination. On the right side, you can see the eyelets, is where the "album" part is. The little box on the right is another piece of acetate, and that whole mini flap opens (see below), so they can put notes or more pictures there. 

The little flap on the front right that opens.

Album pages.
  
The mini file folders opened. They can put photos in here, memorabilia, stuff they pick up on their trip, or things from what they now call home.

Tuesday, April 16, 2013

crafty goodness - heidi swapp workshop

This past weekend I went to Archiver's and made this really cute album and file folder.
I love the concept of the file folder. If you have kids, you can easily turn this into one school year and then add the file folder to a binder of sorts. You don't have to spend the money on the fancy file folders, just take a regular file folder, cover it in paper you like and decorate it. The one in the class I took had transparency's with writing and decorations on them. There were frames included, which I left the top open on and then slid clear transparency under, so later, I can add a photo and keep it protected.

Maybe in the near future, while the class is fresh in my mind, I'll do this exact thing and put together a how-to. Guess that means I have to clean my craft table. :)

5/5/2013
Here's a link to the video how-to on Heidi Swapp's blog.

Sunday, December 2, 2012

2012 Christmas Card


Paper Supplies
  • Bazzill Basics paper 12x12 Sparkle (hereafter referred to as BB Sparkle)
  • Vellum (8.5x11, you can use any size you like)
  • 12x12 White Card stock
  • Blue card stock of choice for die cutting into snowflakes (I got my snowflakes at work from a job we printed and die cut)
Stamps
  • 3 snowflakes stamp by Stamp of Excellence (any snowflake stamps will do)
  • Christmas greeting of choice for front
  • Christmas saying of choice for inside
Ink
  • Adirondack Lights Cloudy Blue
  • StazOn Teal Blue
Tools
  • Tim Holtz Alterations 3 snowflakes embossing folder
  • Creative Memories (CM) Small Circle Cutter with Green Blade
  • Die cutter and/or embossing tool
  • Snowflake die cut of your choice
  • Adhesive of choice
  • Glue dots small
  • Silver thread 
When I create my Christmas cards, I go into mass production mode. For me this means cutting everything down, stamping as much as I can, folding, cutting, embossing, etc. and then assembling everything together. Some steps in this card I performed together to make it easier in case I left the project for several hours (or days).

Step 1
Cut 12x12 white card stock into thirds. Your final trimmed piece will be 4x12". Fold in half to 4x6". Cut additional white card stock to 4" wide by 1" high (or higher, depending on the size of your Christmas greeting). Stamp your Christmas greeting on the 4x1" pieces of white card stock.

Step 2
Cut BB Sparkle (background for inside and outside) to 4x6".

Left side shows the vellum on top of white paper.
Step 3
Stamp snowflakes randomly on vellum using the Adirondack Lights Cloudy Blue ink. This ink does not dry fast on vellum, so make sure you are careful and set it aside to dry before doing anything else with the vellum (you can stamp and entire 8.5x11/12x12 sheet before setting it aside).


Step 4
Cut vellum down so it's 4" wide (top right photo). From here you will just gently tear the sheet to get the strips you will need for the final design (bottom two photos). Gently tear 1 1/2" strips of vellum.


Step 5
Die cut your snowflakes. Once your snowflakes are cut, you can attach two together with some thread (approximately 3") in between, using a glue dot (below: first photo). I aligned the thread down one of the spikes of one of the snowflakes (to make it less noticeable) before attaching the second one (below: second photo). I didn't align my snowflakes, but you can if you want to. My snowflakes were not the same color on the front and back, so I chose to have them face opposite directions, so I had blue and white on both sides (below: last photo).

From left to right: attach glue dot; add thread along one of spikes in snowflake,
attaching at glue dot; place second snowflake on top either in the same position
as main snowflake or off to make it look bigger.

Step 6
Using a removable adhesive, attach the BB Sparkle paper to the front of the card. (If you do not have a removable adhesive, you can attach the bottom half of the BB Sparkle to the white card stock - make sure you only do the edges on the bottom so you can still access between the two card stocks.) Unfold white card stock so paper lays flat. Align CM circle cutter in desired position on BB Sparkle attached to front of the white card stock (I positioned mine towards the top and centered), using the green blade cut a circle through the BB Sparkle and white card stock.


Step 7
Align the snowflake in the center of the circle and attach one side of the thread at a time*, make sure to pull thread tight, but not too tight (you don't want to break the thread). Cut excess thread from top of card. Make sure snowflake is centered horizontally and vertically before permanently adhering BB Sparkle paper.
*If your card is vertical, your thread should go vertical and the if it's horizontal, should align horizontally (this will allow free spinning and less likelihood of the thread stretching too much causing the snowflake to hit the sides of your circle).

Holding BB Sparkle somewhat in place, add snowflake, pulling thread tight
and center in the circle. Attach BB Sparkle once snowflake is in place.

Step 8
Attach vellum to front side of card, use the adhesive along top edge only (below: first photo). You don't have to use a clear adhesive since your Christmas greeting will cover up where your adhesive is. Attach Christmas greeting at top of vellum (below: last photo). I attached my greeting approximately 1/4" below circle.


Step 9
Emboss dull side of BB Sparkle using the Tim Holtz snowflake embossing folder. Attach on the inside of the card. Stamp Christmas greeting starting halfway down on the inside (this way the greeting can't be seen through the hole where the snowflake is).


You're done! Great job! Hope you enjoyed this how-to. If you have any suggestions or questions, please let me know! Happy card making!


I included a little handwritten note on the inside under the circle which said: To spin snowflake blow on left or right side of snowflake.

Here's a link to a video of how the spinner works (although you can't see it very well).

Sunday, July 15, 2012

Baby Shower Invites

Here's a baby shower invite I created.


What you need:
Baby Diaper template (this link takes you to the website where I got the template, below is a direct link to the PDF)
Pencil
Printer with paper/computer to print template
Ribbon (2 colors of your choice)
Ink colors of your choice
Card stock with design
Blank colored card stock
White card stock
Adhesive
Scissors
Scoring tool
Ruler
Cutter
Glue Dots
Invitation stamp (or you can print something on the card stock)
Thank you stamp

How to:
Since I created a gender neutral card, I went with green and yellow for the theme.

1. Download the baby diaper template (PDF) here and print out one. Cut it out and trace onto white card stock. Use the scoring tool to score card stock where you should fold (dotted lines on template). To do this I kept my printed sheet over top and lined my ruler up with the templates score marks. You can also find where the "corners" are and score a straight line down and across.


2. Once you're done scoring, cut out the diaper. Fold on score lines and adhere so that the flaps stay down. Only adhere flaps (3 pieces). DO NOT adhere to base


3. Cut down various card stock for main invitation. I cut my yellow waffle paper to 4" square, the green polka dot paper to 3.5" square and the main invitation paper to 3" square. Round corners on the base paper (largest card stock).
4. Stamp your invitation information if you didn't print it on the card stock. Adhere all three of the papers to create a layered effect.
5. Tie your two ribbon colors into a bow and attach to front of diaper using a Glue Dot.
6. Insert invitation and voila! You're done.


 Optional Thank You for the mom-to-be. Since I had some leftover scraps and ribbon, I created this Thank You for the mom-to-be to send to those who come and bring a gift.


Christmas sayings stamps


1st stamp: May the true spirit of Christmas fill your heart with peace, your home with love.
2nd stamp: and the Angel said unto them I bring you good tidings of great joy!


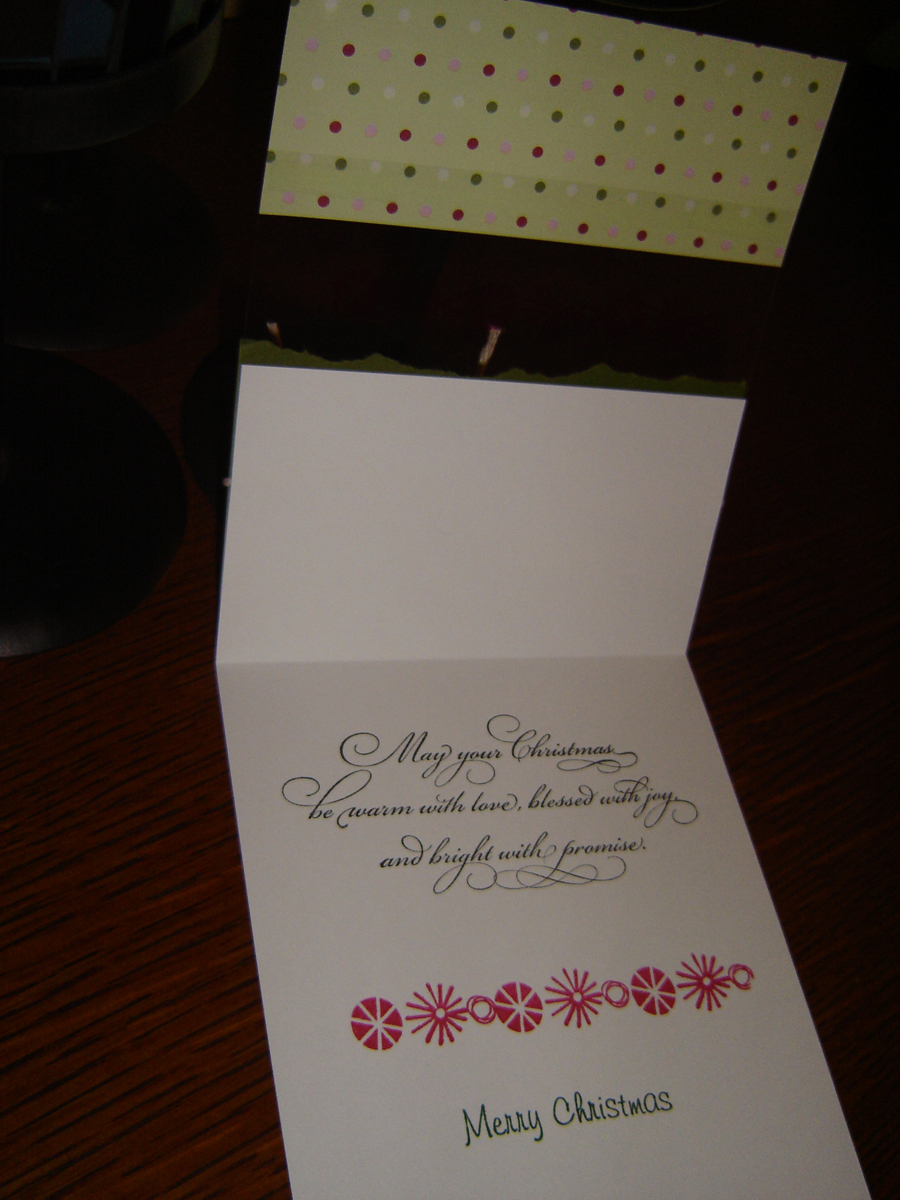
 May your Christmas be warm with love, blessed with joy and bright with promises.

 Luke 2:7-11, 13-14

Top stamp: May the miracle of Christmas fill your heart with joy.
Left stamp: May all the joys of the season be yours in abundance.
Right stamp: Joy to the world the Lord has come!

Sunday, January 29, 2012

Mother's Day & Father's Day

I know it's a little early, but I've had some inspiration.

Here are the cards for the parents this year:

I used the embossing sleeves that come with the Texture Boutique to emboss the card. Red card stock for one side and white for the other. I pop dotted the oval that the tulips are stamped on (this is a discontinued Stampin' Up stamp). Just added my one Happy Mother's Day stamp and voila!


I got my inspiration for this card from Hero Arts. You can't really see it in this picture, but I did print out a ruler on the yellow card stock. I used The Craft Lounge's Nailed It stamp set for the tools. White card stock and a Happy Father's day stamp (stamped in black Staz-On ink) is attached with duct tape. The gray and red/white card stock is part of the Paper Studio's A Boy's Universe pad.


I also made a male birthday card similar to the father's day card, but I used Versamark ink and embossed it in silver.

Thursday, December 29, 2011

2011 Christmas Card and Collection

2011...the year I went overboard for Christmas. My cards, gift certificate/money holders, gift tags and thank you cards all matched. This is the first year I went that crazy. Usually, none of it matches, but, since I had some extra paper, I made them all match.

Pictures first, how-to for the main card only at the end. I'm sure if you get through the how-to on the card, you can figure the other things out or come up with your own. I'd love to see your ideas/variations.

THE CARD
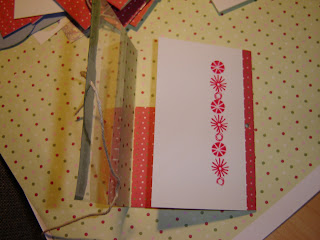
Front of Card. The candy looking stripe was stamped on
acetate using Blazing Red Staz-On Ink.
The same candy stripe image was also stamped on the inside
(giving the double image you see in this picture).
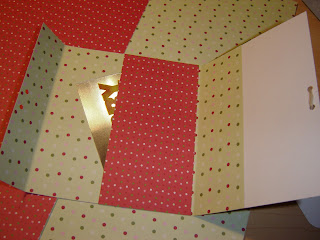
Fully opened card.
The gap between the white and green papers
is the acetate. You can clearly see the candy stripe
image stamped on the inside here.
Just the inside.


THE COLLECTION
Thank you cards and gift card/money holders collection (close ups and more details below)


THE GIFT TAG
I did not stamp the candy stripe on the white card stock,
only on the acetate.

THE GIFT CARD/MONEY HOLDER
Small gift card holder - more of a wallet size.

Opening the wallet-sized version. Candy stripe is only stamped
on the white card stock
The pocket is in the center attached with adhesive on the left and
bottom to fit money or a gift card from the store of your choice.
GIFT CARD/MONEY HOLDER VERSION 2

Larger self pocket - the white you see through the acetate
is the pocket that holds the gift card or money.

Candy stripe image is only stamped on the white card stock.
Opened version of the larger gift card/money holder. The white
part is attached with adhesive and serves as the pocket.

Wasn't sure how clear the other one was with the background
of the center panel being the same.
 GIFT CARD/MONEY HOLDER VERSION 3
No acetate was used in this version.


You can see the gift card peaking out. The pocket is adhered on the
inside, top and bottom, so the gift card isn't going anywhere.
 
THE THANK YOU CARD


THE HOW-TO

SUPPLIES
White card stock
Green card stock
Heidi Grace Designs (HG EG Jolly Crdstk Minido)
Twine (I used a thin bracelet making twine)
Corner Rounder
Stamps of your choice (you will want to use a clear stamp and block for the acetate and inside image)
Adhesive
Acetate
Staz-On Ink (color of your choice, I used Blazing Red)
Black ink (your choice)
Green ink (your choice)

HOW-TO:
When making cards in quantity, I usually do a mass assembly line. I will cut all my paper down to size and tear it.

I started with the base card folded to the size I wanted: 8"x~5-3/4", then cut off the ~3".

Cut your card stocks as follows: 
White: 8"x4-1/2"
Green: 2-1/2"x4-1/2"
Heidi Grace: 1-3/4"x4-1/2"
 
Twine is also pre-cut to: 6".

Square image on the front (Joyeux Noel) was stamped first on 1-3/4" squares (the leftovers from cutting the 3" off the main card), then the corners were rounded.

Stamp image that will go on acetate and white card stock on the inside of the white card first. The image should go just under where white card stock comes to (just below that line).

Attach twine to back side of green paper.

Attach your torn green paper.

Attach acetate to green paper.

Stamp image that is on inside of card on acetate.

Attach Heidi Grace paper.

Tie knot of twine to twine attached to green paper. I find I use less string if I attach the initial string/twine/ribbon, then tie a bow/knot to the location I want it...it can slide, so I can move it afterwards also.

Stamp your inside sayings.